back to top

Give A Mind Boggling Look To Your Ordinary Windows.

Windows Transformation Packs will give your computer a cool and a terrific look. These Transformation Packs will convert the dull look of the window's into a much better one.

Operate Your Computer Through Your Voice.

If you have to do a lot of work on your computer or laptop and you are bored of clicking and typing and all that stuff, then here is the latest and cool software - Voice and Speech Recognition, by which you can operate your windows through your voice easily.

Operate Your Computer Through Your Voice - Voice and Speech Recognition

If you have to do a lot of work on your computer or on your laptop and you are bored of clicking and typing and all that stuff, then here is the software which is going to help you out a lot - Voice and Speech Recognition  by which you can operate your windows through your voice. On of the good thing about it is that it is compatible with Windows Xp, Windows Vista and Windows 7 too.


What Voice and Speech Recognition Is?
It is a software which enables you to control your computer or laptop through your voice and even has the ability to dictate emails, documents or anything else which you want. It has approximate 100 commands but you don't have to worry about it because you can command of your own choice.

How To Install It ?
Download the software from the following URL and remember its a Trial Version. The size of this software is 2.63 Mb.
http://www.e-speaking.com/install_3_8_17.exe


Now we have to install it:
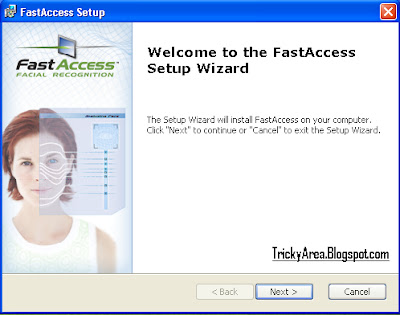
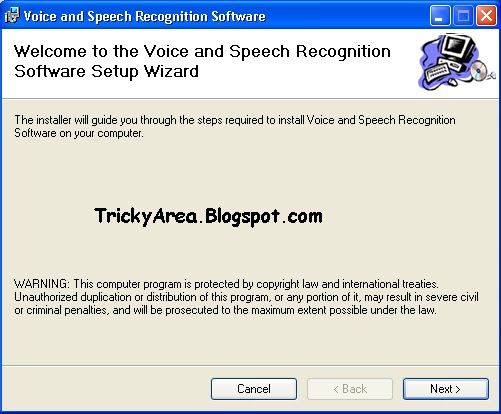
1. Open the setup and click on the Setup tab and after that click on the Next option.


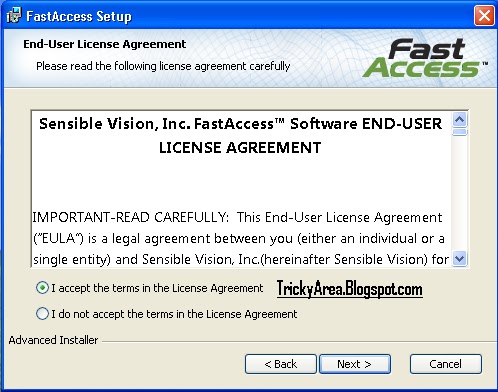
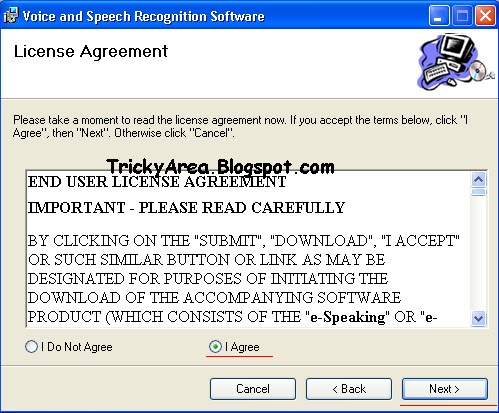
2. Select the I Agree option and then click on Next.


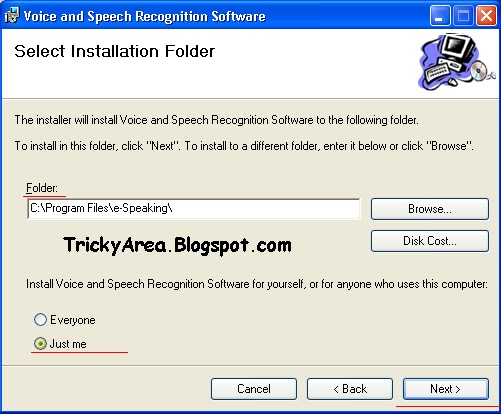
3. Select the Destination where you want to Install and then click on Next option again.


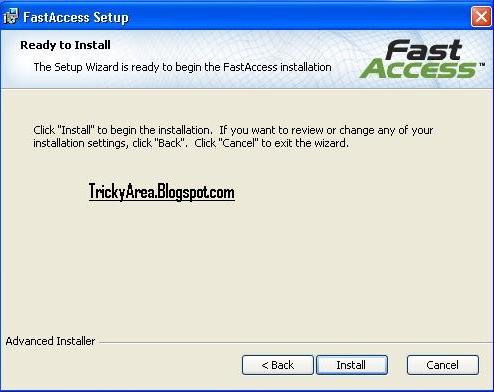
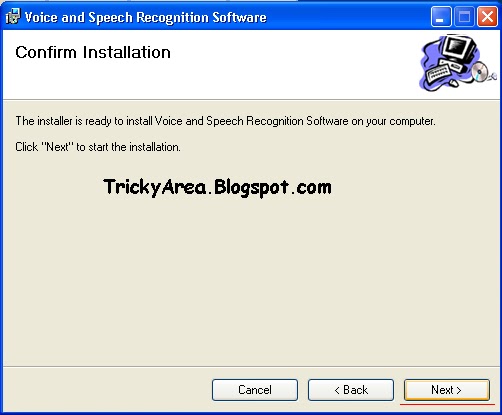
4. Now click on the Next option if you are ready to install.


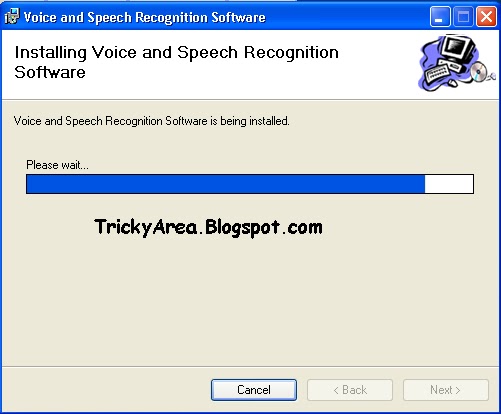
5. After installing, click on the Close option.


6. Now just Restart the computer.

Your Voice and Speech Recognition Software must have installed successfully after performing the above steps. Now you can command your computer through your voice.


If you are facing any problem or want to share your views with us, then you are most welcome.
Let us also know about your experience and innovative ideas & thoughts via comments.


Use Your Face To Login To Your Computer - Face Recognition Password

One of the interesting thing which i wanted to share with you all is the Face Recognition Password. I think now you are also in a hurry to know about it and to install it on your device (laptop or computer) and you will glad to know that it is available for Windows Xp, Windows Vista as well as Windows 7 too. So we are going to discuss about the Face Recognition Password Software - Fast Access Facial Recognition in detail below.


What Fast Access Facial Recognition Is?
Fast Access Facial Recognition works with any Windows operating system which have a built-in or external webcam. Fast Access Facial Recognition remembers the face and when you try to log-in, it detects the face. You will logged-in, only if you are right person. It is up to you that how many faces you wanted it to detect.

One of the feature which i liked the most is that it remembers our username and password which we enter in the websites, and it will automatically enter the username and password for us after detecting the face. So it not only secures our windows but websites too.

It also have a Security feature which continuously track for the presence of your face after you are logged-in, in order to secure your desktop data if by chance you walk away.


How To Install It?
Download the software from the following URL and remember its a Trial Version. The size of this software is near about 29.4 Mb.
http://c483162.r62.cf2.rackcdn.com/FAInstallV3.001.039.SR.exe

After downloading the software, now we have to install it:

1. Open the Setup by double clicking on its icon and then click on the Next option.

2. Select the option I accept the terms in License Agreement and then click on Next.

3. Select you destination where you want to install and then again click on Next option.

5. At last but not the least, click on the Install option.


6. And after some time, the installation will be completed and after which you have to on the Finish option.


7. Now just Restart the computer.


If you are facing any problem or want to share your views with us, then you are most welcome.
Let us also know about your experience and innovative ideas & thoughts via comments.


How To Change Folder Background In Windows Xp?

Have you ever thought about it that whether you can change the folder's background or not? And you would be glad to know that the background of folders can be changed easily without any software or application.


So if you are having a creative mind and want to change the background of the folders then here are the steps to change the background of folders.
Note: These are the steps to change the Background Of The Folders In WINDOWS XP only.

First Step :

1. Open the Folder in which you want to change the background.


2. Click on Tools and then on Folder Options.


3. And then click on View Tab and mark the Show Hidden Files and Folders option.


4. At last, click on Apply option and then on OK.
After completing the First Step, we can see HIDDEN FILES in a folder.

Second Step :

1. Now go to the Properties by clicking right button on the Folder icon and then click on Customize Tab and then on Change Icon.


2. After clicking on the Change Icon button, you will see the following window-


3. Now just select any icon and click on the OK button.

Last Step :

1. Second Step will create a desktop.ini file in your folder which is most of the time invisible. So we have to open it with the help of Notepad.
  • Go to Notepad and click on File and then on Open option.
  • Browse to the folder whose icon you changed in the Second Step and then type desktop.ini in the File Name field and then click on Open.
2. You will see some coding but don't need to worry about it. You have to just add these lines after that coding-


[ExtShellFolderViews] {BE098140-A513-11D0-A3A4-00C04FD706EC}={BE098140-A513-11D0-A3A4-00C04FD706EC} [{BE098140-A513-11D0-A3A4-00C04FD706EC}] IconArea_Image=C:\WINDOWS\Web\Wallpaper\Bliss.bmp

3. Save it, close the Notepad window and now open the folder & see its background, it must have changed.

Note: You can put some other image by putting its URL in front of IconArea_Image=.


If you are facing any problem or want to share your views with us, then you are most welcome.
Let us also know about your experience and innovative ideas & thoughts via comments.